


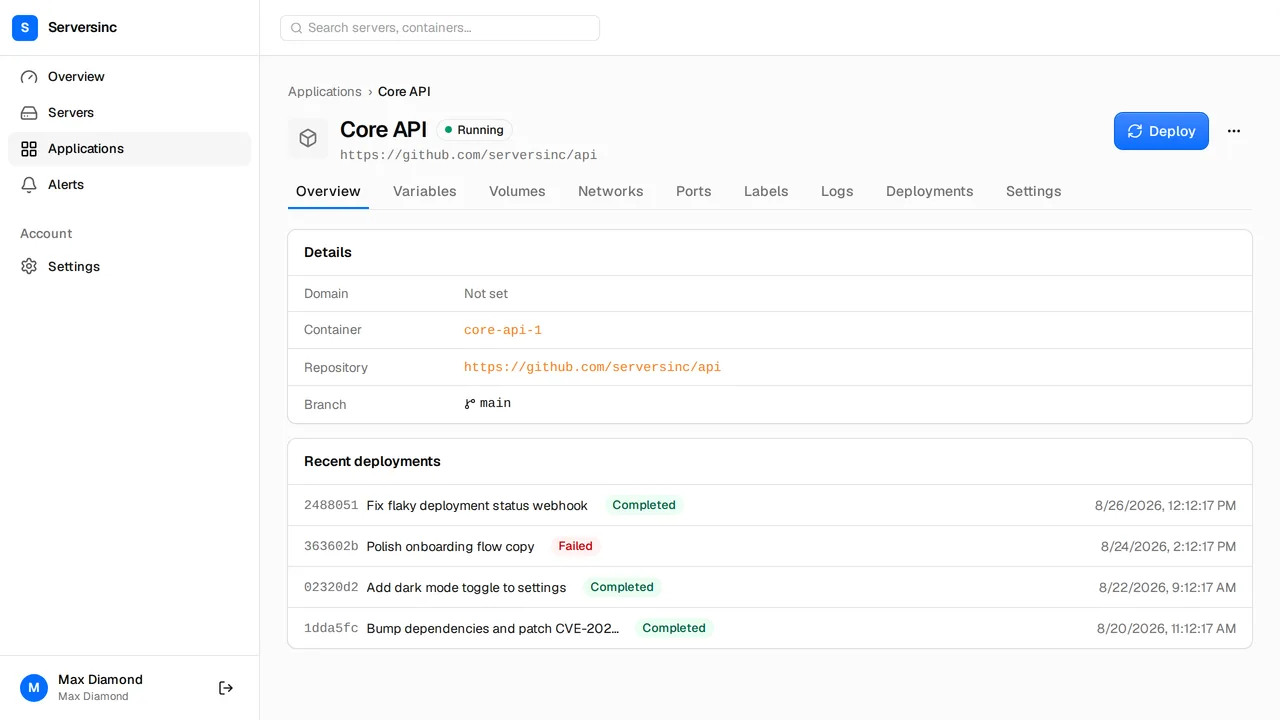
You’ll need a server connected to Serversinc and the Serversinc GitHub App installed on your repository (Settings → Integrations).
Add a Dockerfile
Serversinc builds the Dockerfile at the root of your repository. This one builds your Vite assets with Node, then installs Composer dependencies on the serversideup/php image, which runs Nginx and PHP-FPM on port 8080.
FROM node:22-alpine AS assetsWORKDIR /appCOPY package.json package-lock.json ./RUN npm ciCOPY . .RUN npm run build
FROM serversideup/php:8.4-fpm-nginxWORKDIR /var/www/htmlENV PHP_OPCACHE_ENABLE=1
COPY --chown=www-data:www-data composer.json composer.lock ./RUN composer install --no-dev --no-scripts --no-autoloader --prefer-dist --no-interaction
COPY --chown=www-data:www-data . .COPY --from=assets --chown=www-data:www-data /app/public/build ./public/buildRUN composer dump-autoload --optimize --no-dev
Keep local files out of the build:
.git.envnode_modulesvendorpublic/buildpublic/hotstorage/logs/*storage/framework/cache/data/*storage/framework/sessions/*storage/framework/views/*database/database.sqliteDockerfileThe proxy ends HTTPS and forwards plain HTTP to the container. Trust it, so Laravel builds https:// URLs:
->withMiddleware(function (Middleware $middleware): void { $middleware->trustProxies(at: '*');})If a scheduled task is a closure, give it a name and run it on one server. The reason is in the FAQ below.
use Illuminate\Support\Facades\Cache;use Illuminate\Support\Facades\Schedule;
Schedule::call(fn () => Cache::forget('stats'))    ->name('clear-stats')    ->hourly()    ->onOneServer();
Commit package-lock.json and composer.lock.
Provision the database
- Open Servers, select your server, then the Database tab.
- Choose MySQL and version 8.4, then select Provision.
- When the instance is ready, select Create database and name it
shop. - Under Database users, select Add user, name it
shop, and copy the password. - Select Grant access and give the user access to
shop.
The instance has its own network. Your app joins it in the next step and reaches MySQL by the instance name.
Create the application
- Open Applications, select New application, then GitHub app.
- Under Basic details, name it
shop, choose the server, the repository and the branch, and set Deploy strategy to Rolling. - Under Labels, add
traefik.http.services.shop.loadbalancer.server.port=8080. The health check and the proxy both use this port. - Under Processes, set up three:
| Process | Command | Starts after | Ready when | Receives traffic |
|---|---|---|---|---|
web | blank (image default) | None | Health check /up | On |
worker | php artisan queue:work | web | Running time | Off |
scheduler | php artisan schedule:work | web | Running time | Off |
- Select Create application.
/up is the health route Laravel ships with. The worker and the scheduler start after web, so if a new version fails its health check, they stay on the old version with it.
Connect the database and set variables
- On the application’s Networks tab, select Attach network and choose the network named after the MySQL instance.
- On Variables, select Paste .env and paste your production values. Mark
APP_KEYandDB_PASSWORDas secret.
APP_ENV=productionAPP_DEBUG=falseAPP_KEY=base64:...APP_URL=https://shop.example.comLOG_CHANNEL=stderrDB_CONNECTION=mysqlDB_HOST=<instance name>DB_PORT=3306DB_DATABASE=shopDB_USERNAME=shopDB_PASSWORD=<the password you copied>Generate the key with php artisan key:generate --show. LOG_CHANNEL=stderr sends Laravel’s log to the container output, so you can read it under Logs. All three processes get these variables.
- On Settings → Deploy, enter
php artisan migrate --forceas the Release command and save. - Select Deploy.
The release command runs once in a one-off container from the new image, with the same variables and networks as your processes. When it succeeds, the processes deploy in order. When the deployment shows Completed, open Logs and pick the worker process. You’ll see each job as it runs.
Put it on a domain
- Point an
Arecord forshop.example.comat the server’s IP address. - On the application’s Settings, enter
shop.example.comunder Domain and save. The Labels tab now shows atraefik.http.routers.shop.rulelabel. The router takes its name from the application. - On Labels, add these three:
traefik.http.routers.shop.entrypoints=websecuretraefik.http.routers.shop.tls=truetraefik.http.routers.shop.tls.certresolver=le- Deploy again. The certificate is issued once the domain resolves to the server.
Back up the database
- Add a storage bucket under Settings → Storage providers.
- On the server’s Backups tab, select New schedule.
- Choose the MySQL instance, the storage provider and how often to run, then select Create schedule.
Read Database backups for retention and restores.
Ship a change
Push to the branch. Serversinc builds the new image, runs your migrations, then rolls over the web app once /up answers, followed by the worker and the scheduler. If the migration or the health check fails, the old version keeps serving.
To deploy from CI instead, use the application’s deploy trigger. For every rollout option, read Deploy an application.